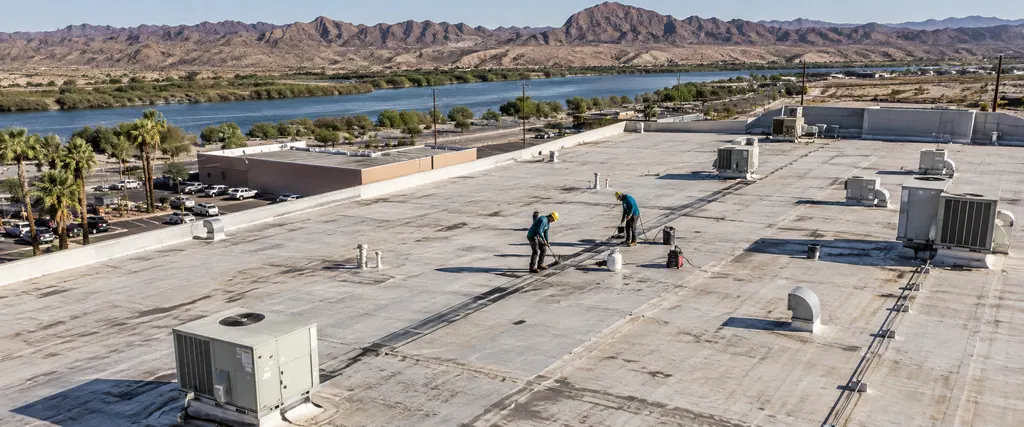
Flat Roof Repair
Most leaks on low-slope buildings trace back to seams, drains, and curb flashing, which a flat roof repair rebuilds detail by detail.
Flat roof repair for seams and drains
Commercial roof leak repair in Bullhead City starts at the ceiling stain. We trace it back to the seam, curb, or drain letting water in, then rebuild that detail.
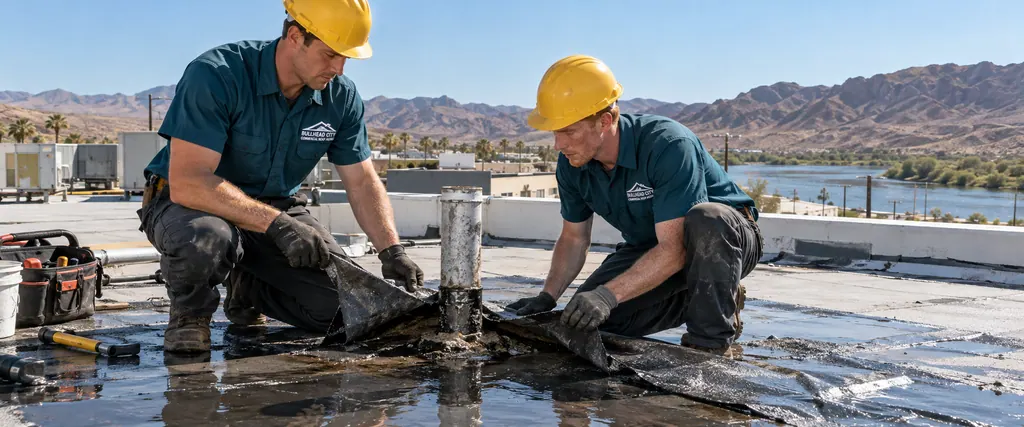
Both have a place. A stopgap slows an active leak, and the permanent repair waits for a dry surface.
Water slips in at one detail and runs along the deck until it finds a gap. The dashed line shows a typical path from a curb to a stain.
Dried sealant at a rooftop unit curb lets rain behind the flashing, often several bays from where anyone looks for the leak.
Inside, water follows deck flutes, insulation joints, or a purlin downhill before it drips, so the stain marks where water lands.
When a strainer packs with dust, water rises around the drain and finds the clamping ring, leaking straight down beside the drain line.
An open lap in the field lets water under the sheet, where it spreads through wet insulation and shows up as a wide stain.
A split pipe boot drips straight down the pipe, so the stain hugs the pipe or the wall it runs through.
Leak work runs from quick stopgaps to rebuilding the failed detail. Most leaks need both, in that order.
| Repair | What It Fixes | When It Is Enough |
|---|---|---|
| Stopgap patch | Active leaks at an open seam, torn flashing, or a peeled panel | The surface is still wet and the permanent fix has to wait |
| Drain and scupper clearing | Water backed up around a packed strainer | The drain body and clamping ring are intact |
| Wet insulation tear-out | Soaked insulation and soft cover board at the leak | The wet area stays near one entry point |
| Detail rebuild | The seam, curb, boot, or flashing that let water in | The roof around that detail still holds |
Tracing the water back to its entry point means one repair, rather than a string of patches under the wrong spot.

A patch above the stain often misses, since water travels before it drips. Finding the real entry detail first stops the leak with a single permanent repair.
Stopping water at the entry keeps it from spreading through the insulation, which limits how much has to be cut out and replaced.
Dated photos of the stain, the entry point, and any temporary patch make a clear record if storm damage is part of a claim.
Ceiling tiles and drywall are replaced once, after the roof is dry, rather than after each new drip.
Call and tell us where the stain is and when it drips. A logged stopgap can go on first, with the permanent repair once the roof dries.
Five steps from the stain inside to the rebuilt detail on top.
We check the roof above the stain, then walk uphill along the deck slope, looking at curbs, seams, drains, and boots that could feed water down to that spot.
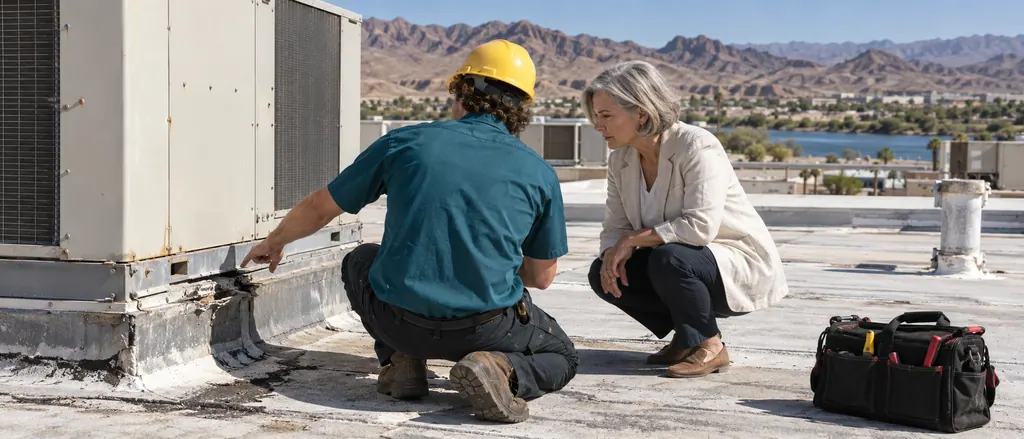
Stains, wet tiles, and drip points are marked on a floor sketch with dates, so a stain that grows after each storm stands apart from an old dry mark.
A moisture meter and small core cuts show how far water has spread under the membrane, which sets the size of the tear-out before any material is ordered.
Suspect details are flooded one at a time while someone watches inside, so the entry point is confirmed before any membrane or flashing is cut.
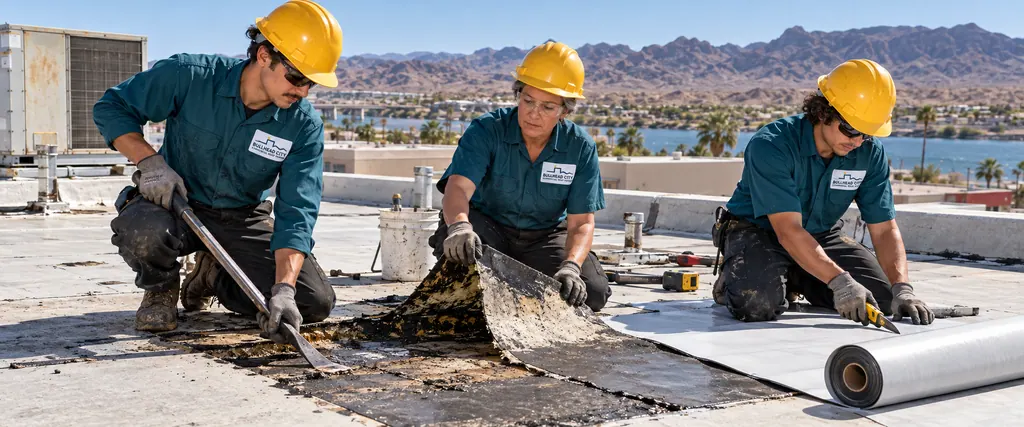
Wet material comes out, and the failed seam, curb, or flashing is rebuilt to match the roof. The repaired area is checked again after the next monsoon storm.
Once the entry point is found, the fix usually falls under one of these.
Most leaks on low-slope buildings trace back to seams, drains, and curb flashing, which a flat roof repair rebuilds detail by detail.
Flat roof repair for seams and drains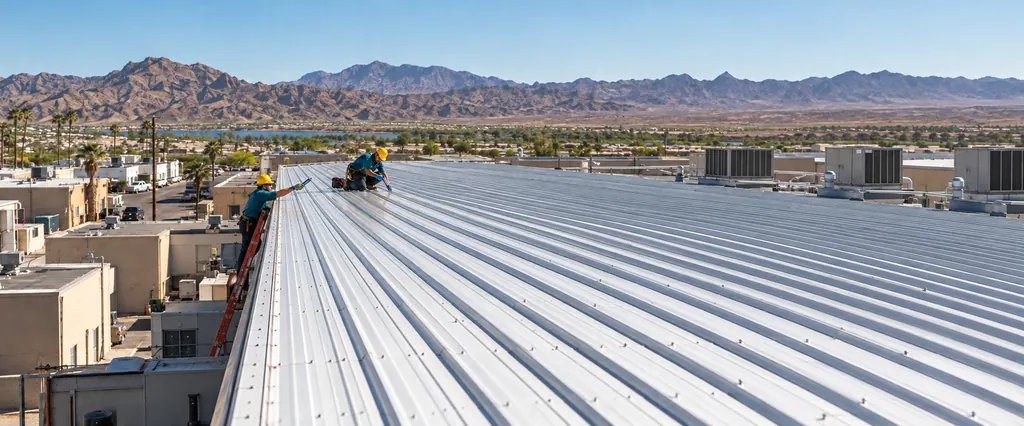
On steel buildings, leaks start at backed-out screws and open end laps, so the fix is new fasteners, fresh lap sealant, and stitch screws.
Commercial metal roof repairThree things: finding the entry point, removing wet material, and rebuilding the failed detail. On retail and office roofs along State Route 95, that means inspecting above the stain and along the drainage path, cutting out wet insulation and soft deck, replacing the failed membrane or flashing, and water-testing before a recheck after the next monsoon storm.
Usually, with a water test. Wind-driven rain pushes water sideways under counterflashing or up a lap that stays dry in a light shower. Flooding each suspect detail with a hose while someone watches inside recreates those conditions one spot at a time.
Yes, if it can be moved safely. Water travels along the deck, so drips shift between storms. Cover stock and equipment near the stain with plastic, put a bucket under active drips, and photograph the area before and after for your records.
As soon as water shows up inside. Every rain pushes more water into the insulation, which widens the area that has to be cut out later. A logged stopgap first, followed by the permanent repair once the area dries, keeps that wet area small.
A coating over an unrepaired leak rarely holds. Water keeps moving under it from the open seam or flashing, and blisters form. The seam or flashing gets repaired first, and a coating only makes sense afterward on a roof that suits one.
Foot traffic and panel removal. Technicians kneel on the membrane, drop screws, and lift access panels that tear sealant at the curb. A look at the curb flashing and the walk path around the unit after each service visit catches punctures early.
Tell us where the stain is and when water shows up. We start above the stain and follow the deck uphill.
Leave a name and number and we will call about the leak or repair. Or call now: +1 (928) 436-4825.